Bootstrap Radio Input
Overview
In some cases the compact items turn out to be simply the most critical given that the full image is in fact a whole incorporating many little details enhanced and stacked in order to look and showcase as a well-oiled shiny machine. These powerful phrases might actually look a little bit too much once it goes to form regulations however in the event that you just consider about it for a little bit there is just a single feature enabling the website visitor to get one amongst a several available alternatives. And so in the event you're having certain forms using this sort of solutions controls over your various web sites does this suggest they will all look alike? And most importantly-- would you settle for that?
Fortunately for us current version of ultimate popular mobile friendly system - Bootstrap 4 runs totally stuffed with a bright brand-new solution to the responsive activity of the Bootstrap Radio Button regulations and just what is bright new for this edition-- the so called custom-made form regulations-- a palette of predefined appeals you are able to simply just take and employ for you to add in the so wanted at presents assortment in the graphical presentations of quite uninteresting form details. In this way let's check out how the radio buttons are planned to be defined and designated in Bootstrap 4. ( read more here)
How you can utilize the Bootstrap radio button:
To create a radio tab we first require a
<div>.form-check.form-check-inline.radio.radio-inline.disabledWithin the
.form-check<label>.form-check-label<input>.form-check-inputtype = “radio”name = “ ~ same name for all the options ~ ”id = “ ~ unique ID ~ “value=” ~some value here ~ ”disabled<input>This is additionally the place to specify assuming that you wish the radio control to at first load as checked once the web page gets loaded. Assuming that this is what you are actually after-- in place of
disabledchecked<input>checkedCheckbox and even Bootstrap Radio Value for examples
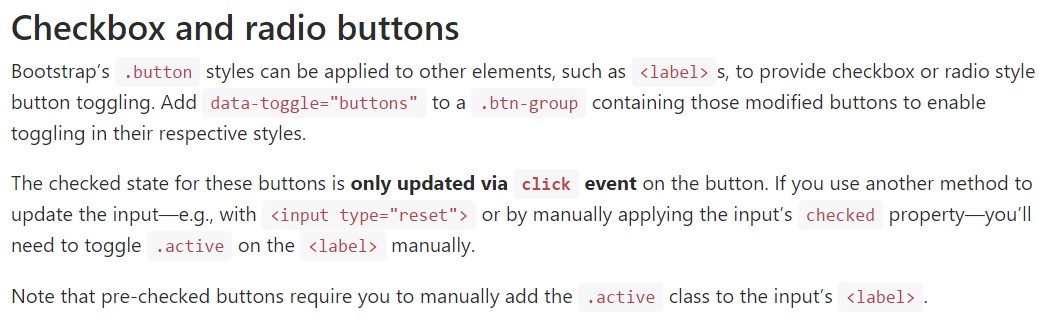
The checked state for these buttons is only updated via click event on the button.
Keep in mind that pre-checked buttons require you to manually bring in the
.active<label>Checkbox

<div class="btn-group" data-toggle="buttons">
  <label class="btn btn-primary active">
    <input type="checkbox" checked autocomplete="off"> Checkbox 1 (pre-checked)
  </label>
  <label class="btn btn-primary">
    <input type="checkbox" autocomplete="off"> Checkbox 2
  </label>
  <label class="btn btn-primary">
    <input type="checkbox" autocomplete="off"> Checkbox 3
  </label>
</div>
Radio

<div class="btn-group" data-toggle="buttons">
  <label class="btn btn-primary active">
    <input type="radio" name="options" id="option1" autocomplete="off" checked> Radio 1 (preselected)
  </label>
  <label class="btn btn-primary">
    <input type="radio" name="options" id="option2" autocomplete="off"> Radio 2
  </label>
  <label class="btn btn-primary">
    <input type="radio" name="options" id="option3" autocomplete="off"> Radio 3
  </label>
</div>
Radio button possibility
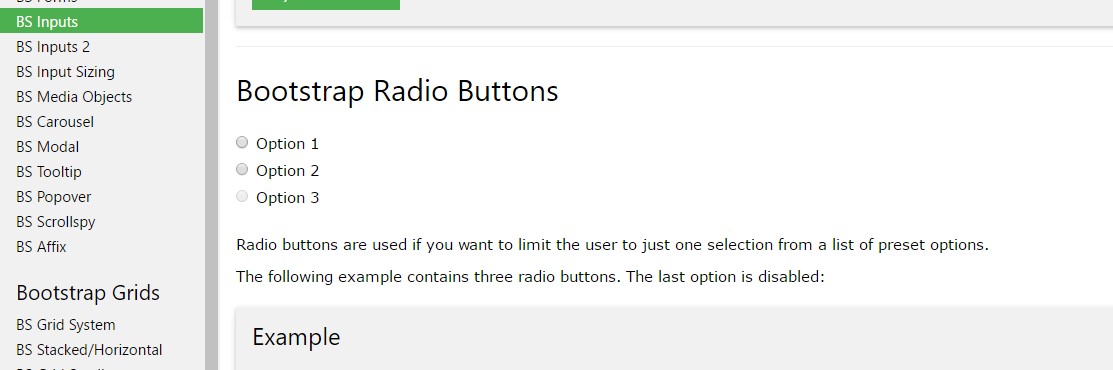
If we would like the site visitor to choose a single of a set of opportunities, we can surely put into action input features of the radio style. ( visit this link)
Just one have the ability to be picked out whenever there is higher than just one element of this particular type using the equivalent value within the name attribute.

<div class="row">
  <div class="col-lg-6">
    <div class="input-group">
      <span class="input-group-addon">
        <input type="checkbox" aria-label="Checkbox for following text input">
      </span>
      <input type="text" class="form-control" aria-label="Text input with checkbox">
    </div>
  </div>
  <div class="col-lg-6">
    <div class="input-group">
      <span class="input-group-addon">
        <input type="radio" aria-label="Radio button for following text input">
      </span>
      <input type="text" class="form-control" aria-label="Text input with radio button">
    </div>
  </div>
</div>
Final thoughts
Primarily this is the solution the default radio tabs get determined and do a job throughout in Bootstrap 4-- now all you require are several opportunities for the site visitors to pick from.
Examine some youtube video training about Bootstrap Radio Button:
Linked topics:
Bootstrap buttons authoritative documentation
Bootstrap Radio button - article
Checkbox radio buttons break entire toolbar styling
